This manual serves as a guide to connect Binance exchange to the ATAS platform.
If you do not have an account yet, you can register on the exchange at the following link:
Important! To trade through ATAS, you need to activate the one-way position mode. Hedging mode is not available in ATAS. You can change the position mode on the exchange in the chart settings:


1. To connect your account in ATAS, you need to create an API key. You can do this in your personal account by following this link: https://www.bybit.com/app/user/api-management
2. API limitations and settings on the exchange for successful connection in ATAS:
Unlimited access by IP (for dynamic IP addresses) - you need to uncheck the box at the top of the API key list to activate spot and futures.

3. Connect your account using the generated keys in ATAS. To do this, in the platform's main window, click on Connections - Add - Binance, and then click the Next button.

Next, a window will open for you to sign the agreement:
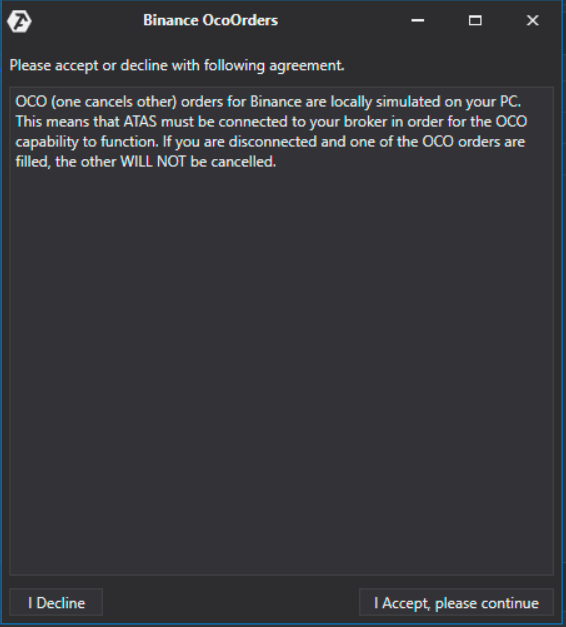
*OCO (one cancels other) orders for Binance connection are emulated locally on your computer. This means that the platform must be connected to your broker for OCO orders to function properly. If you are disconnected and one of the OCO orders gets filled, the rest of the orders in that group WILL NOT be cancelled!
4. Setting up the connection in ATAS

API key, Secret key - keys generated on the website.
Use the test environment - activate this option if you are connecting a testnet account.
To activate a futures, spot, or margin account, you need to check the boxes in the connector settings.
*After configuring the connection, it will appear as a separate line in the list of connections:

1. Add - add a new connection
2. Type - connection source
3. Name - connection name which you can set yourself
4. State - connection status
5. Is market data - option to select a quote provider (this connection will be used as a quote provider)
6. Auto connect - if you want the connection to automatically occur when the platform is launched, you need to enable this option
7. Connection settings button
8. Remove connection from the list button
9. Connect/Disconnect - connect/disconnect the connector
Was this article helpful?
That’s Great!
Thank you for your feedback
Sorry! We couldn't be helpful
Thank you for your feedback
Feedback sent
We appreciate your effort and will try to fix the article