This manual serves as a giude to connect Bitfinex exchange to ATAS platform. You can view a brief description and download the platform at the following link: https://atas.net/atas-crypto/
If you do not have an account yet, you can register on the exchange at the following link:
https://www.bitfinex.com/?locale=en
1. In the main program window, select the Settings menu itemthen, Connection to DataFeed.
2. Click once on the connection indicator in the main platform window.
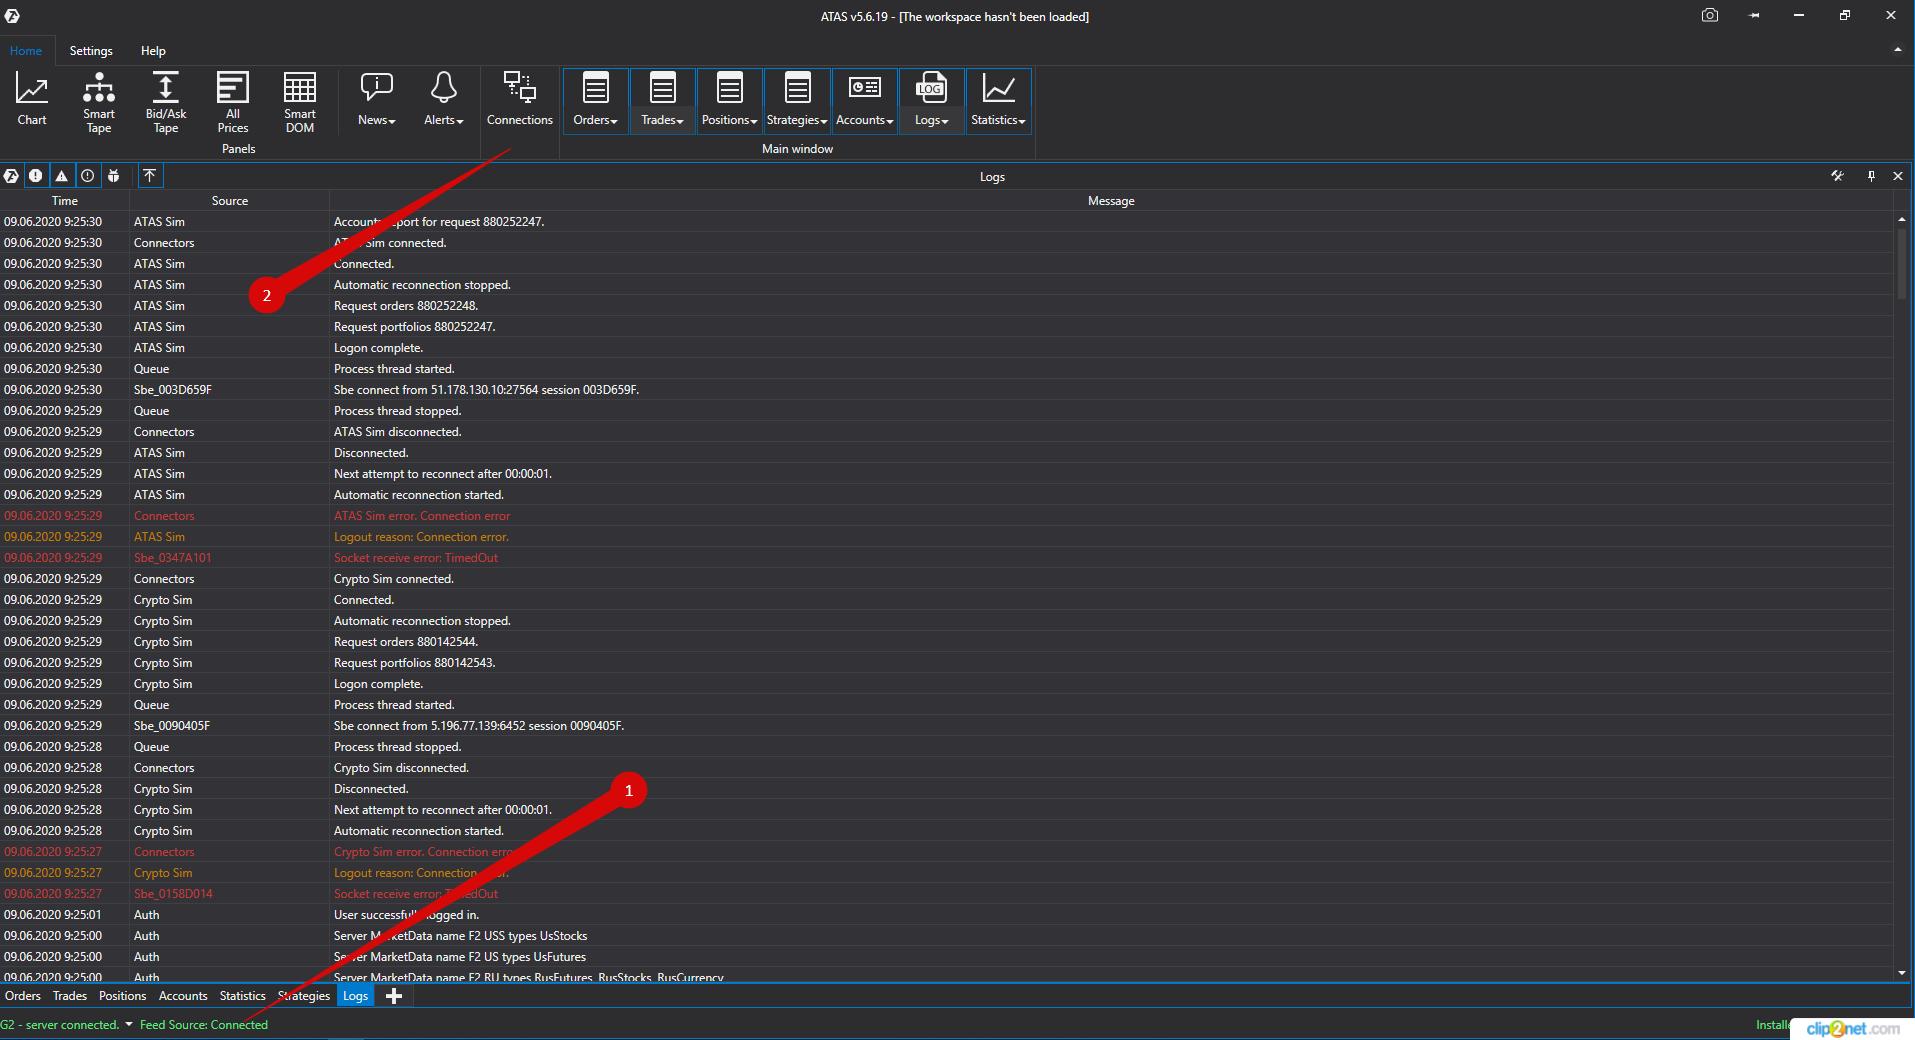
This will open the connection window:
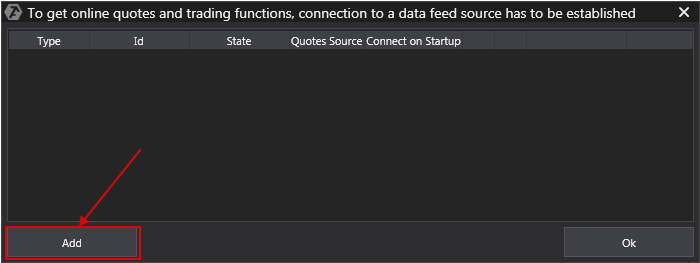
To add new a connection click Add.
This will open a window with a list of available accounts
and quotes sources:
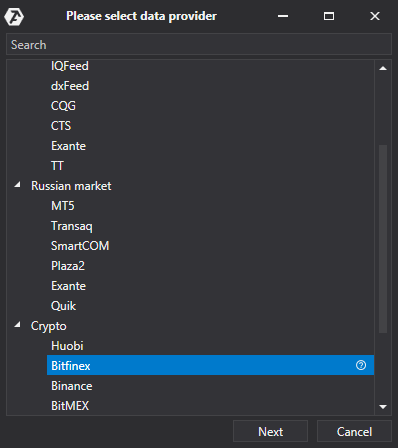
In this window, you must select the type of connection Bitfinex, after that - press Next.
Next, a window opens for the signing of the agreement:
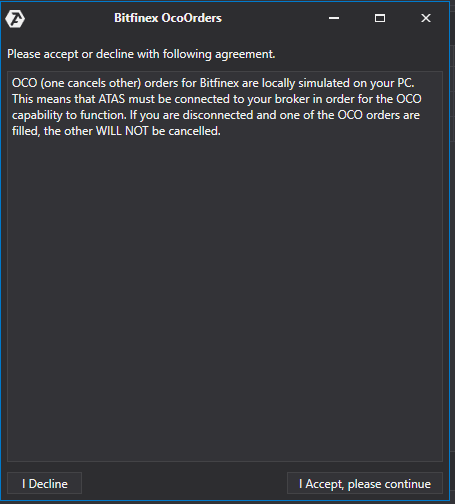
If you are agree, click I Accept, Please continune.
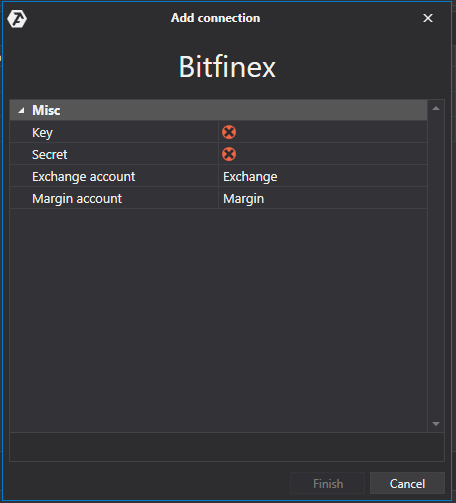
1) In the connection window, enter the keys generated by you in your personal area on the Bitfinex website.
2) Click the Next button.
* After setting up the connection, it will appear as a separate line in the list of connections:
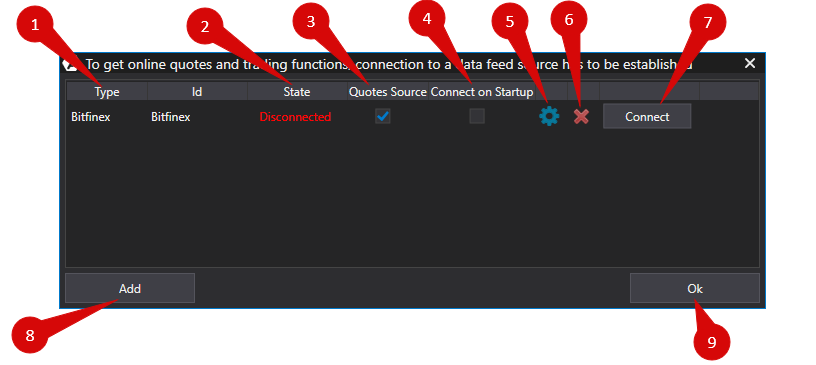
1. Type - source connection.
2. State. After adding a new connection, the status default Disconnected. To connect you must click Connect button.
3. Quotes Source - The option of choice quotes provider.
4. If you want to connect to happen automatically when you launch the platform, you must enable the option Connect on startup.
5. Connection Setup button.
6. Remove the connect button.
7. Disconect button.
8. Add a new connection button.
9. Save settings button.
Was this article helpful?
That’s Great!
Thank you for your feedback
Sorry! We couldn't be helpful
Thank you for your feedback
Feedback sent
We appreciate your effort and will try to fix the article